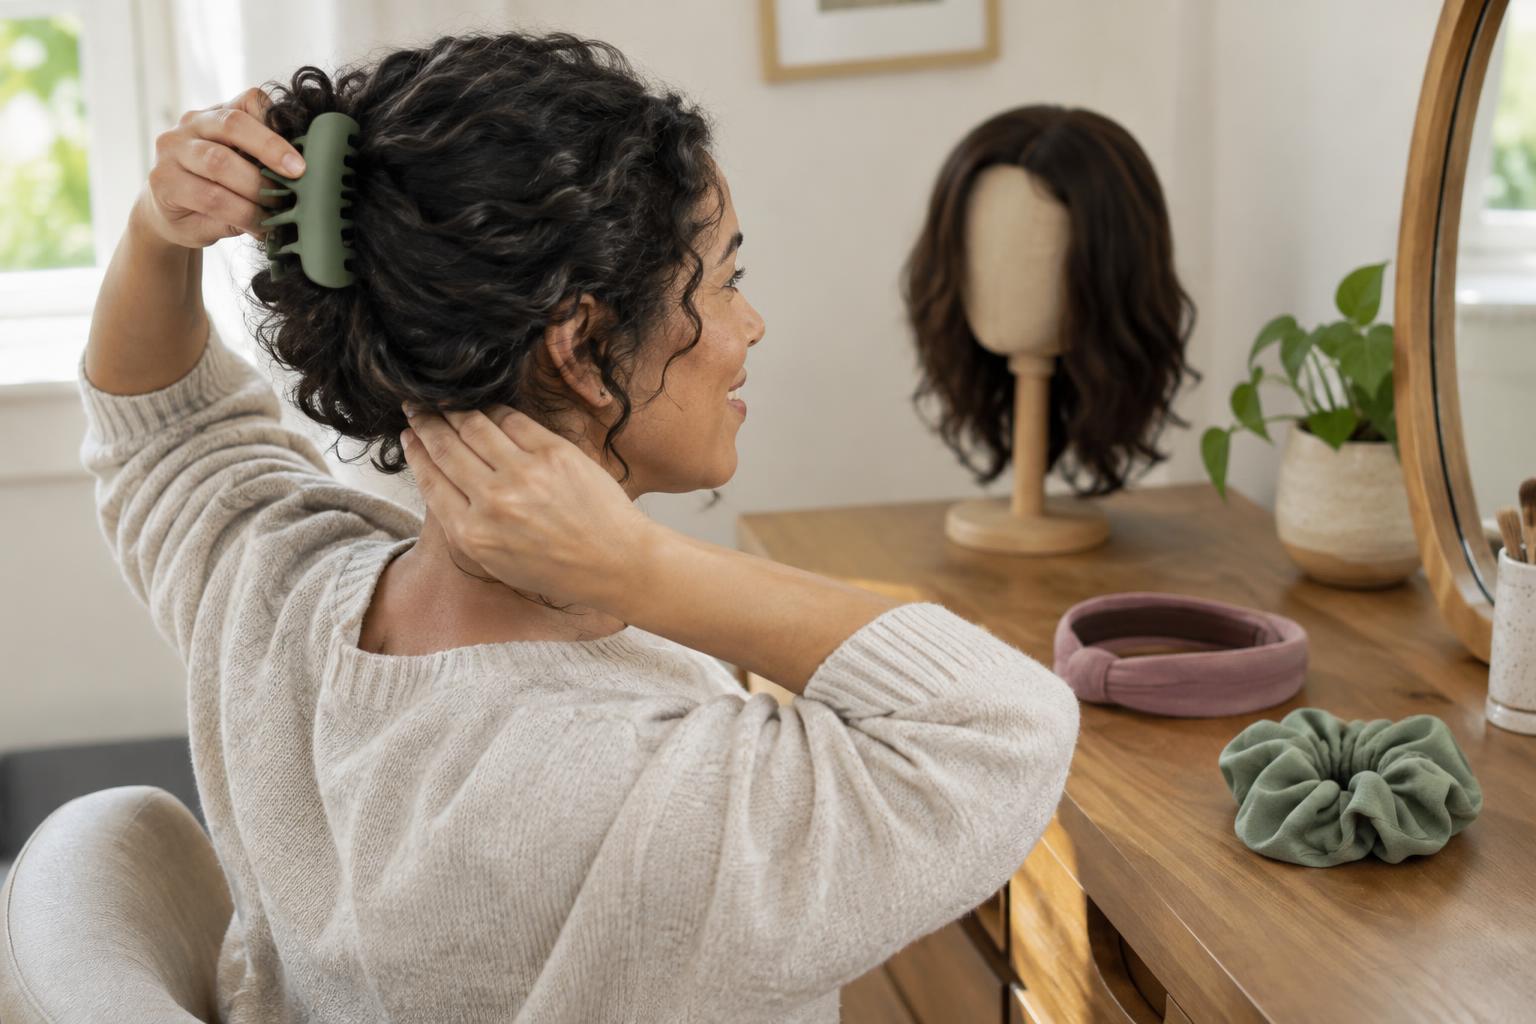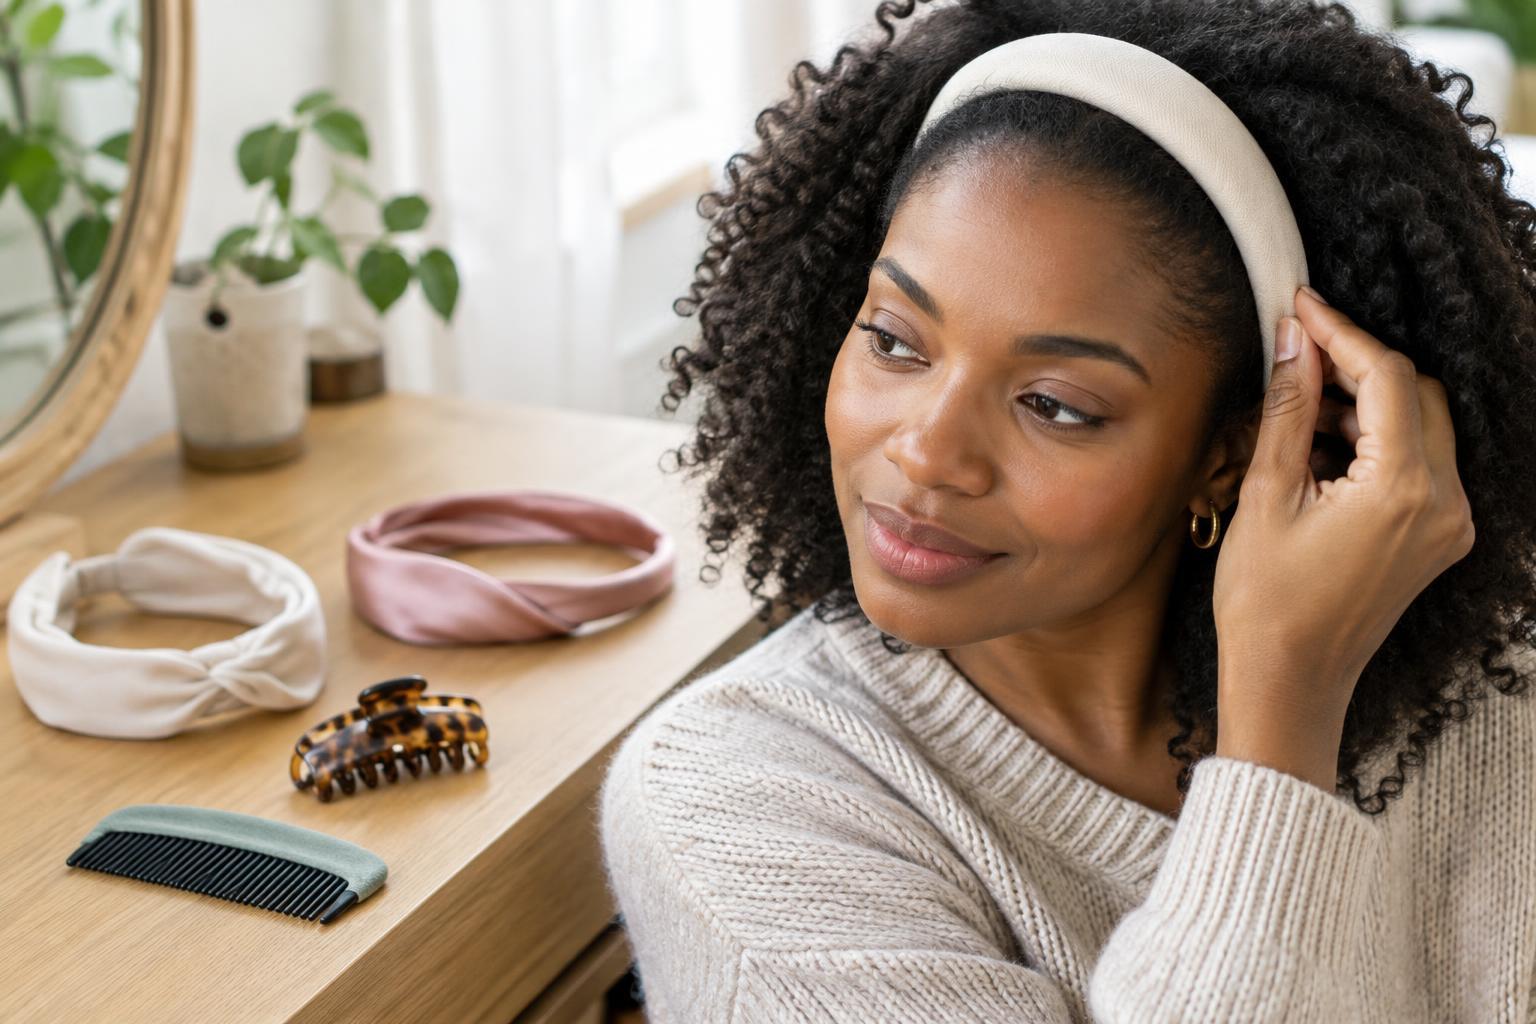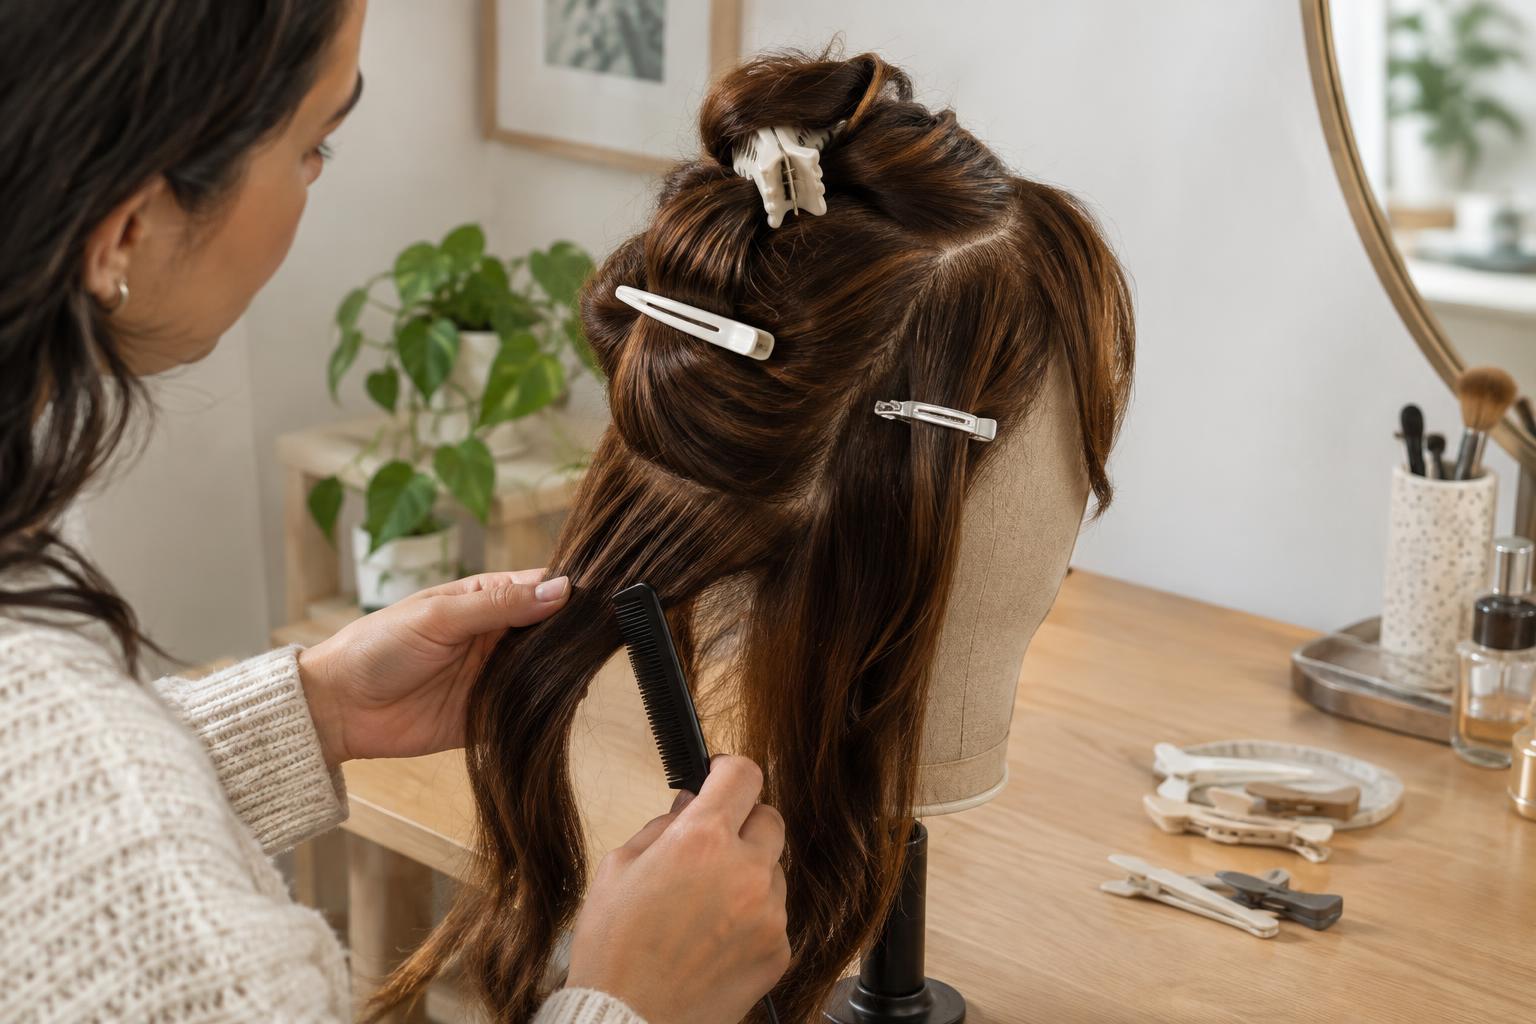
What sectioning clips are for
Sectioning clips temporarily hold part of the hair aside while you brush, dry, curl, straighten, braid or attach a hairpiece. Unlike a decorative clip, a sectioning clip is chosen mainly for its grip and how easily you can move it as you work. A useful clip should keep a manageable section in place without requiring you to clamp down on a large bundle or repeatedly pull it free.
The best choice depends less on your overall hair length than on the size and texture of each section. A clip that holds a small, smooth section securely may slide out of a thick one. A strong clip that controls dense hair may feel unnecessarily heavy near a delicate hairline. Keeping two sizes available can be more useful than expecting one style to do every job.
Common clip shapes and how they differ
Duckbill clips are long and narrow, usually with a spring that opens one end. Their slim shape makes them handy for pinning a clean parting or holding a relatively flat section close to the head. They may be less effective when asked to contain a bulky coil of hair. Some have teeth; others have smoother inner surfaces, which can matter if strands tend to catch.
Alligator clips have two hinged jaws, often with teeth, that open wide around a section. They can be convenient for thicker or layered hair because they grip from both sides. Claw-style sectioning clips gather a larger amount of hair quickly, although their bulk can get in the way when you are working close to the roots. Names vary between sellers, so check the jaw shape and opening in the product photos rather than relying on the label alone.
Metal clips can be slim and durable, while plastic clips are often light and available in larger shapes. Neither material guarantees a gentle hold: inspect the edges, hinge and teeth. A clip with rough joins or an exposed spring may snag hair regardless of what it is made from. If you style with heat, keep any clip clear of hot tools; both metal and plastic can become uncomfortable or unsuitable when exposed to high temperatures.
Match the grip to the section
For fine or slippery hair, start with smaller sections and a clip that closes evenly along its jaws. A larger, heavier clip may slowly slide, especially when attached to only a few strands. If a clip slips, try positioning it across the section rather than adding more pressure at the scalp. For dense, curly or coily hair, a wider opening and sturdy spring can help contain each section without forcing the hair into a narrow jaw.
Short layers may need several small clips instead of one large one. Long hair can be loosely twisted before clipping, but avoid winding it so tightly that the clip strains or the section becomes difficult to release. If you are detangling, secure the hair you have already worked through and open each clip fully before moving on. Pulling a partly closed clip through the strands can undo that careful work.
Comfort is a useful test of fit. A clip should hold hair, not pinch skin or create a constant tug at the roots. If you need to reposition it several times, try a smaller section or a different jaw shape. More clips with lighter loads often give you better control than one clip carrying too much hair.
Using clips on wigs and hairpieces
Sectioning can make wig styling easier, particularly when you need to reach lower layers or keep loose strands away from a parting. Support the wig on a suitable stand or hold the base steady as you place a clip. Attach it to the hair rather than using it to tug on the cap, lace or mesh. Around a lace front or a fine parting, use small, light clips and avoid gripping the base directly.
Wig fibres and attachment methods vary, so follow any care guidance supplied with the piece. Synthetic hair, for example, should not be treated as heat-safe unless its instructions say it is. Before clipping a delicate hairpiece, check that the jaws are smooth and free of old product or trapped strands. Release each clip by opening it fully and lifting it away; this reduces the chance of catching fibres or disturbing the hairpiece underneath.
A simple setup and care routine
Before styling, decide which section you will work on first and clip the rest out of the way. Create sections small enough to brush or style comfortably, then move the clips as you progress. If a tool cannot reach the hair without bumping a clip, shift the clip farther from the working area. This matters especially when using a dryer or heated tool, since clips are meant to organise hair, not sit against the tool.
After use, remove loose strands from the hinges and wipe away product build-up according to the clip material. Let clips dry before storing them, and replace any with cracked teeth, sharp edges or a spring that no longer closes reliably. A small set of well-fitting clips in two shapes or sizes is enough for many routines; the most useful ones are the clips you can place, release and reuse without fighting your hair.