Why colour placement matters
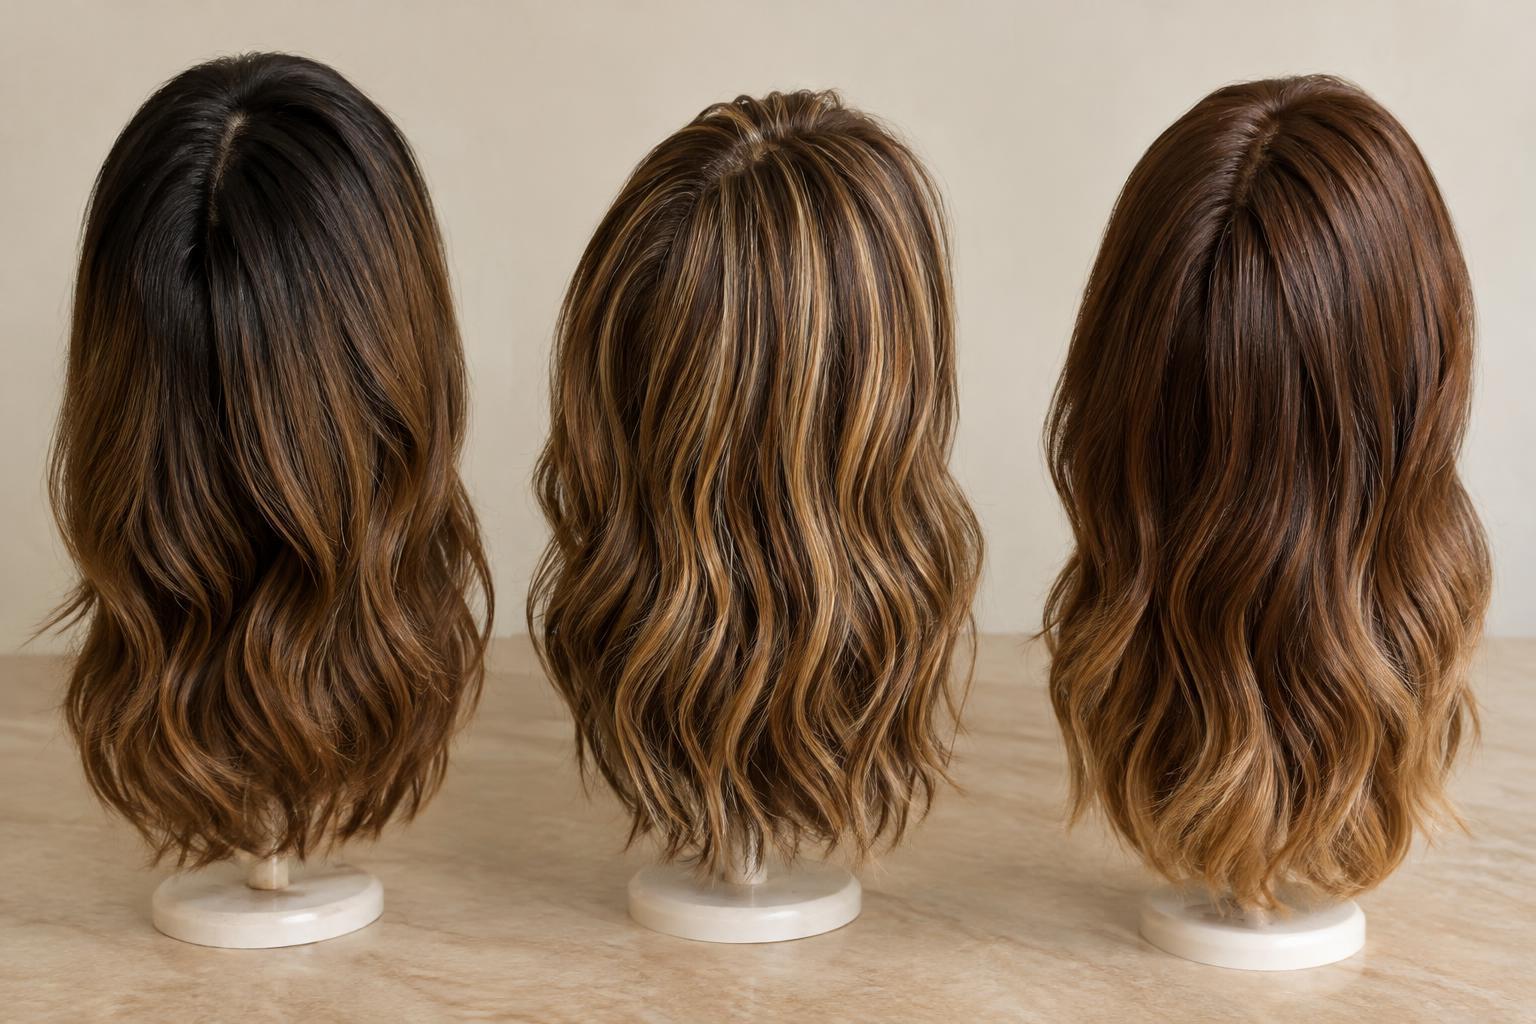
Two wigs can use similar shades yet look quite different when worn. A dark colour concentrated at the roots draws attention to the parting; the same colour spread through the lengths creates an all-over blend. Highlights may frame the face, run throughout the wig or appear mainly on the top layer. Before deciding whether a colour suits you, look at where each shade sits, not just the name on the listing.
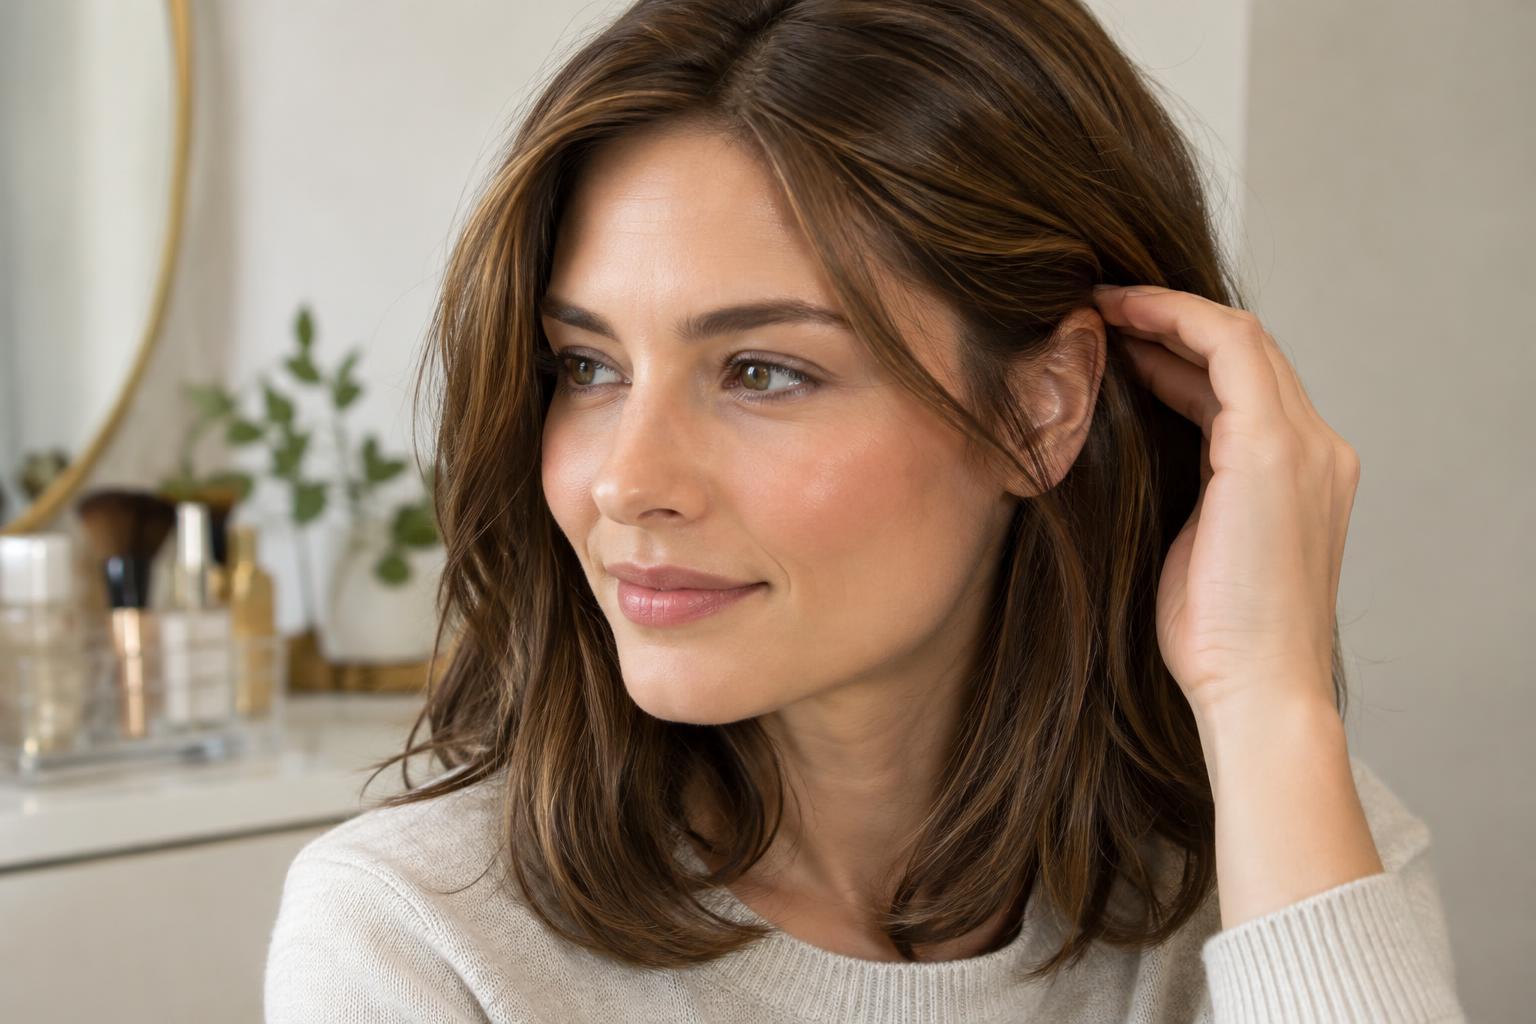
Placement can also change what you notice from different angles. A pale streak near the hairline may stand out in a front-facing photograph but be less obvious from the side. Curls, waves and layers expose different strands as the hair moves. A listing image gives you a useful starting point, but it may not show every area of the wig.
Roots, highlights and tips
A rooted colour has a different shade at or near the base of the hair, often darker than the lengths. Rooting may be subtle or clearly defined, and it can cover a small area or extend farther down the strands. If you expect to change the parting, check whether the root colour appears consistent across the areas you plan to expose. A photograph showing only one parting cannot answer that question.
Highlights are lighter strands or sections set among a base colour. Fine, scattered highlights can read as a blended shade from a distance, while wider or more contrasting sections create a stronger pattern. Some wigs place lighter pieces around the face; others distribute them across the crown or lengths. Words such as “highlighted” and “balayage” can be used broadly in product descriptions, so pictures of the actual placement matter more than the label alone.
Tipped or dip-dyed colours concentrate a contrasting shade toward the ends. An ombré effect generally moves from one colour at the roots toward another at the ends, sometimes through a gradual transition. The boundary between shades may look soft or distinct. Pay attention to the shortest layers: if they end above the colour transition, the front of a layered wig may show much less of the tip shade than the back.
How construction and fibre affect the view
The cap and hairstyle influence which colours remain visible. A fixed parting presents a relatively predictable view of the roots and surrounding highlights. A wig designed to allow several partings may show a different balance of shades after you move the hair. Bangs can cover part of a rooted area, while an updo may reveal colour underneath that was hidden when the wig was worn loose.
Synthetic and human-hair wigs can both come in multi-tone colours, but their care requirements differ. Do not assume that a wig with a colour you might normally dye can safely be recoloured at home. Processing human hair can affect its condition, and many synthetic fibres are not suited to conventional hair dye. If changing the colour later is important to you, check the maker’s care guidance before buying rather than treating recolouring as a backup plan.
A practical way to compare shades online
Start by identifying three things in each listing: the colour at the root, the main colour through the lengths and any lighter or darker sections near your face. Then compare front, side and back images where available. Product photographs can vary with lighting, display settings and styling, so avoid relying on a single image or a colour name alone. If the seller offers a shade description, use it alongside the pictures rather than in place of them.
Make a short note of the placement you want—for example, a soft dark root, little contrast at the hairline and lighter ends. You can use that note to compare options without getting lost in shade names. If a printed checklist helps you organise your choices, browse Printing and Scanning · The Practical Office for further reading on printing and scanning, then record the wig details that matter to you. When an image leaves a key area unclear, asking the seller for another view may be more useful than guessing.