Start with the wig, not the accessory
A decorative hair comb holds best when its teeth can slide through hair and meet a firm, supported section beneath. Before choosing a position, look at the wig’s construction. A dense wefted area may offer more resistance than a delicate lace front or an open section of cap. Avoid pushing comb teeth through lace, mesh or the cap itself: the accessory should grip styled hair, not pierce the wig’s foundation.
Check how the wig fits before adding decoration. A comb cannot compensate for a loose wig, and a heavy ornament may pull a comfortable wig out of place. Adjust any built-in straps or other fit features as you normally would, then put the wig on and move your head gently. If it shifts, address the fit first. A wig grip or another compatible securing method may help, depending on the cap and your preferences.
Choose a comb and position that suit the style
Consider the comb’s weight, tooth length and shape. A small, lightweight comb is often easier to anchor than a large metal piece, particularly in fine or short wig hair. Smooth teeth are less likely to snag fibres. The teeth need enough length to enter the styled section, but not so much that they press against your scalp or catch the cap.
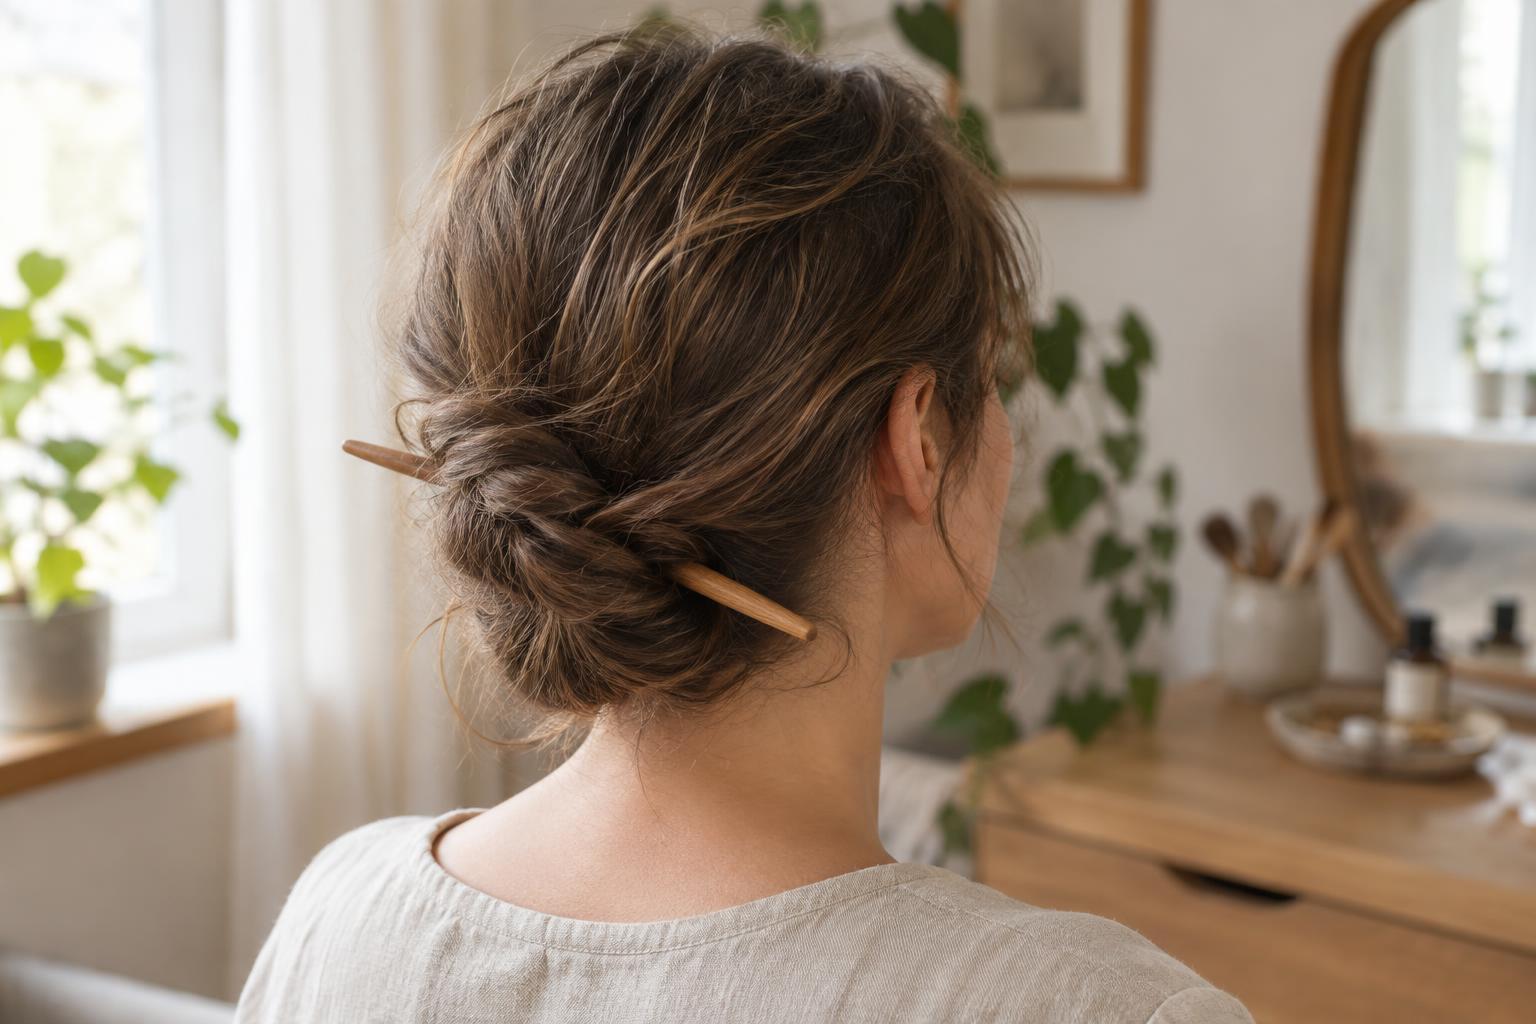
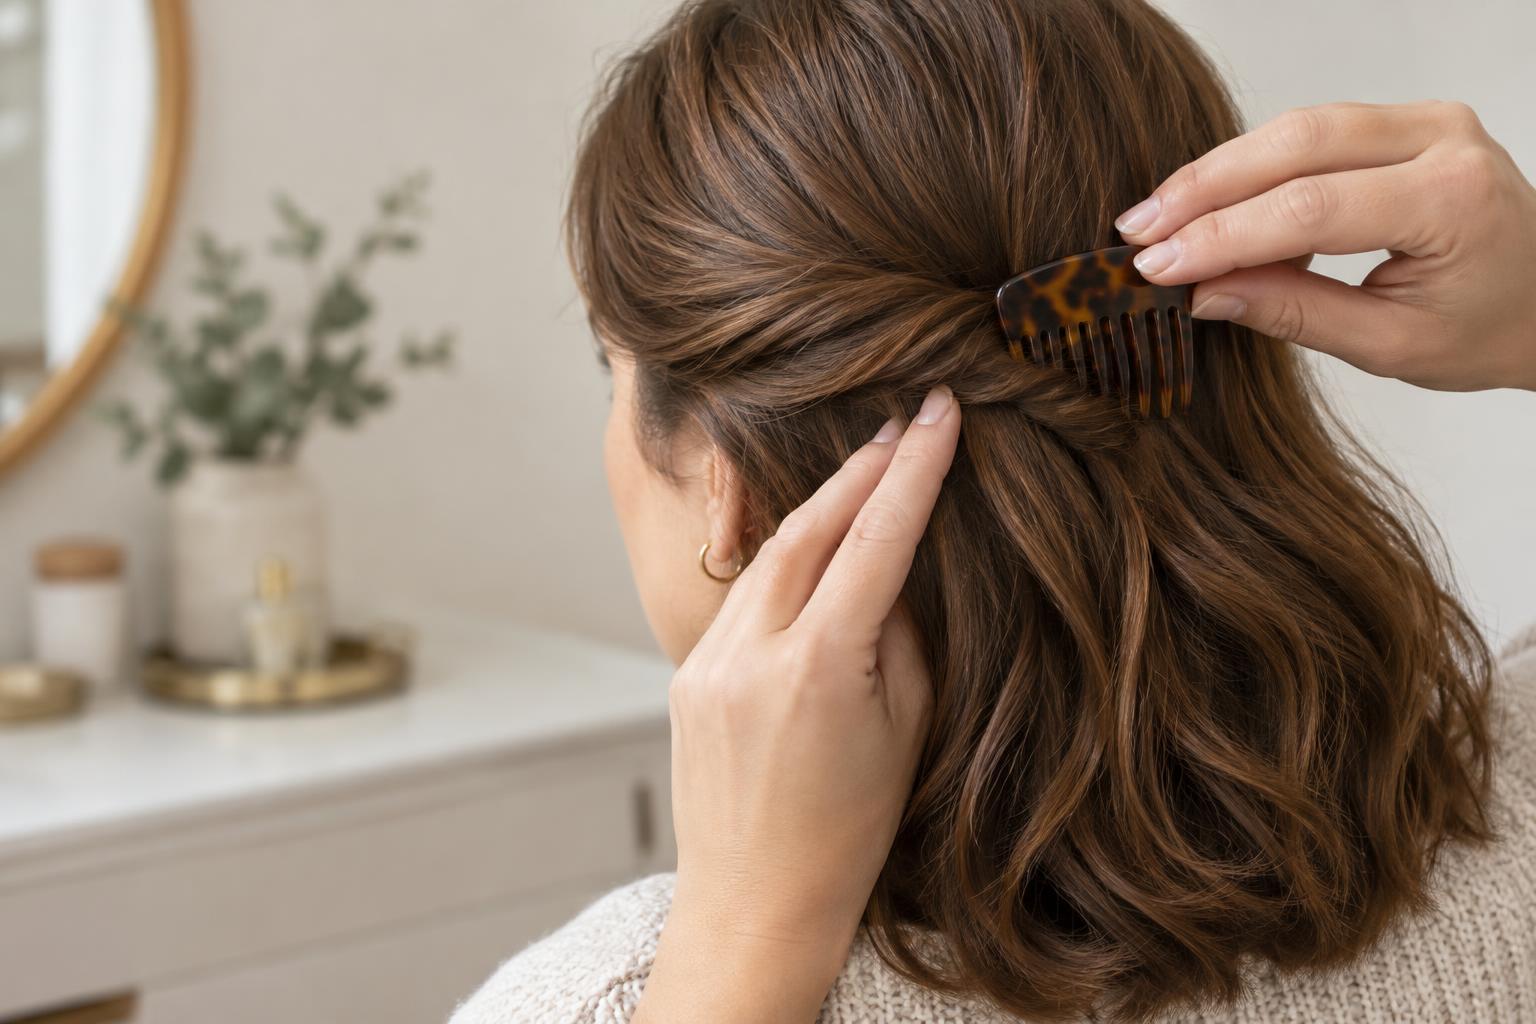
Plan for the accessory to sit where the hair has some structure: above a low twist, alongside a half-up style or behind a small pinned-back section. A comb placed in loose, slippery lengths has little to resist it. If you want it close to the hairline, set it slightly farther back instead of forcing it into a lace-front edge. Check the position from several angles so the ornament looks intentional and its teeth remain hidden.
Build a discreet anchor in the hair
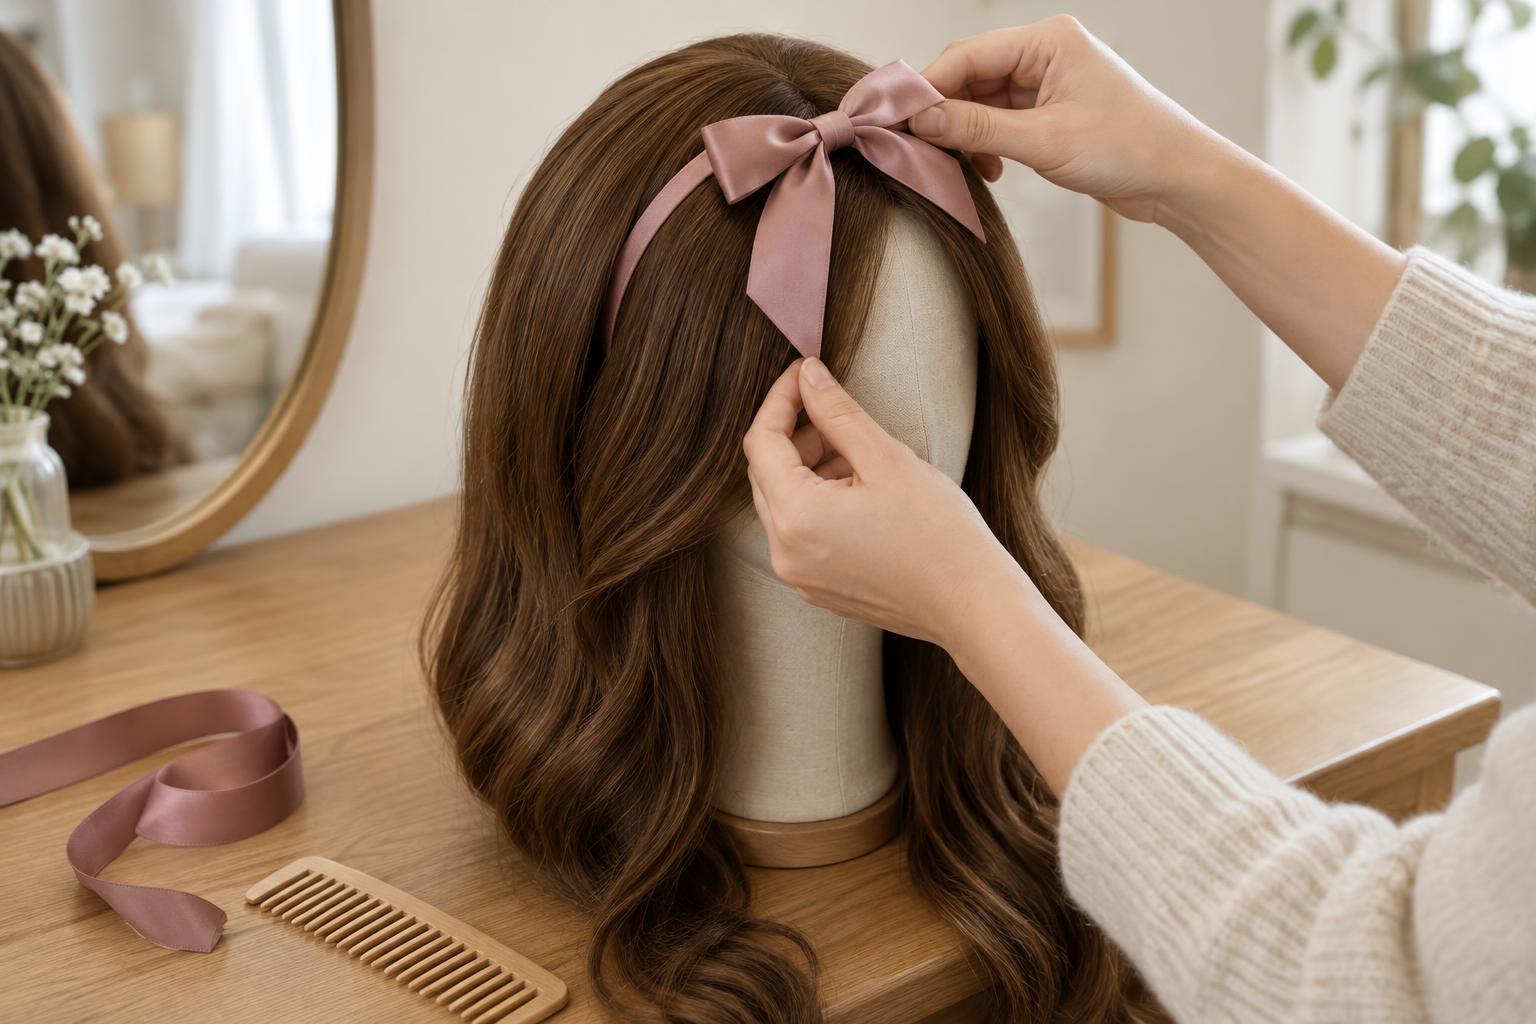
Work on a wig stand if that makes the style easier to see, then check the result again while wearing the wig. Gather a small section of hair beneath the planned placement. Twist it gently or make a narrow, loose braid, and secure it with a small elastic that blends with the hair. This gives the comb a defined place to catch without requiring you to sew or pin through the cap.
For a soft style, you can instead cross two bobby pins through a gathered section to form an X. Slide the pins through hair only, keeping their tips away from the wig base. Pins should lie flat rather than create pressure points. If the wig has limited hair at the chosen spot, move the accessory to a fuller area rather than tightening the section until it strains.
Insert the comb and test the hold
Hold the decoration where you want it to finish. Insert the comb at a shallow angle, directing its teeth into the twist, braid or pinned section. A slight backward motion as you slide it in can help the teeth catch the anchor; avoid driving them down toward the cap. Let the hair around the anchor fall naturally over the working parts of the accessory.
Give the ornament a light tug and turn your head as you would during the day. It should feel steady without pulling on the wig or your scalp. If it slips, remove it and adjust the anchor or choose a lighter comb. Adding more force is unlikely to solve a poor placement. For an event, try the complete style at home long enough to notice any gradual slipping or discomfort.
Protect the wig when wearing and removing it
Keep products and heat consistent with the wig fibre’s care instructions. Synthetic hair may not tolerate the same heat or styling products as human hair, and heavy product can make an accessory harder to reposition cleanly. You do not need to tease the hair aggressively for grip; repeated backcombing can tangle fibres and make routine care more difficult.
To remove the comb, hold the anchored hair with one hand and ease the teeth out with the other. Take out any pins or elastic before brushing or storing the wig. If you feel a snag, stop and free the caught strands individually rather than pulling. A well-placed comb should be an easy, reversible finishing touch—not a source of strain on the wig’s hair or cap.