Start by removing water gently
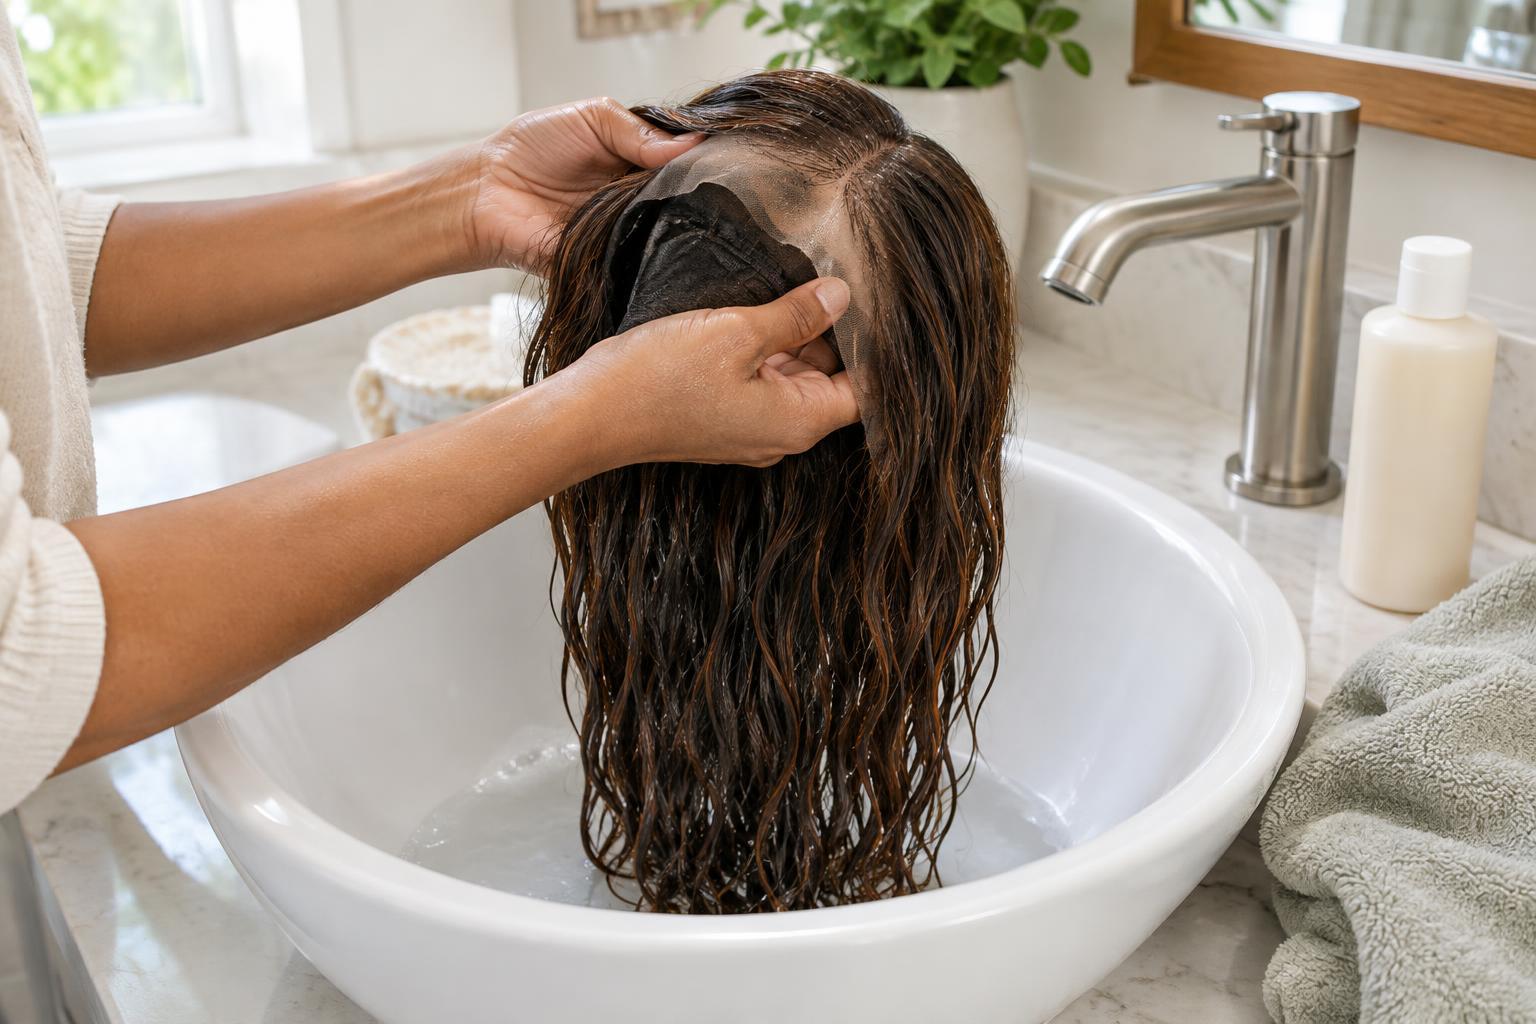
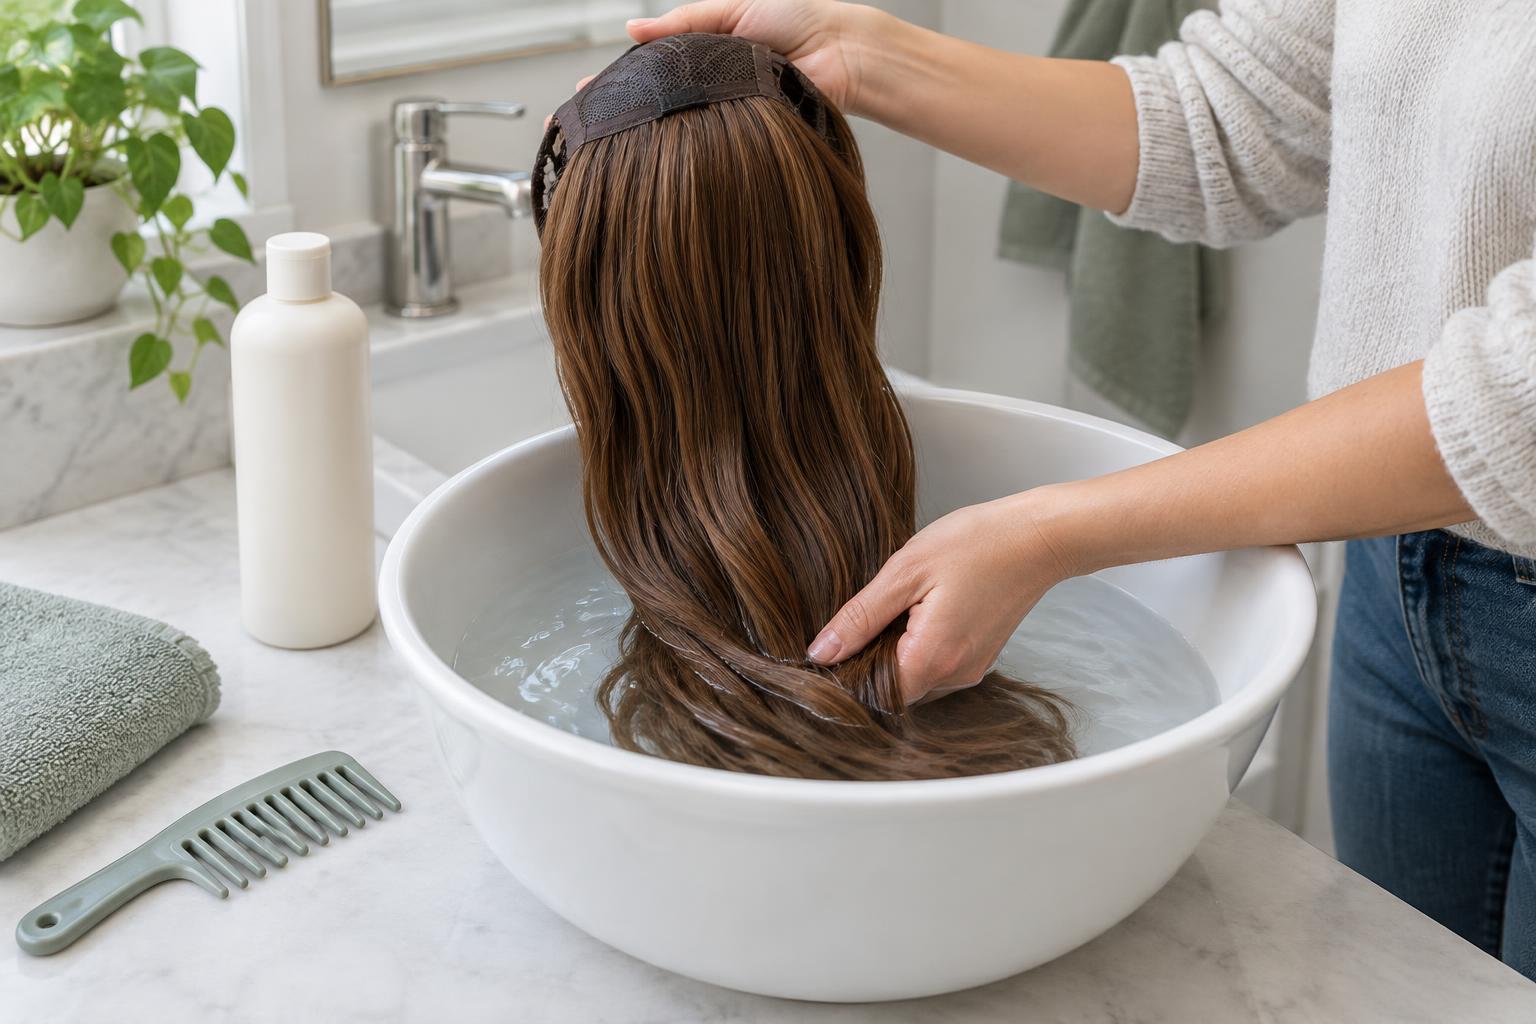
A wet wig is heavier than a dry one. If it hangs from a small point of contact, that weight can pull on the cap, lace or attachment areas. After washing, support the wig in both hands and let excess water drain away. Avoid wringing, twisting or shaking it vigorously, even if you want to speed up drying.
Lay the wig on a clean, absorbent towel. Fold the towel over the hair and press gently from the cap toward the ends, replacing it if it becomes soaked. Pressing removes water without roughing up the fibres or pulling the cap out of shape. Keep rubbing and tight towel wraps to a minimum, particularly around a lace front or delicate parting.
Choose support that fits without tension
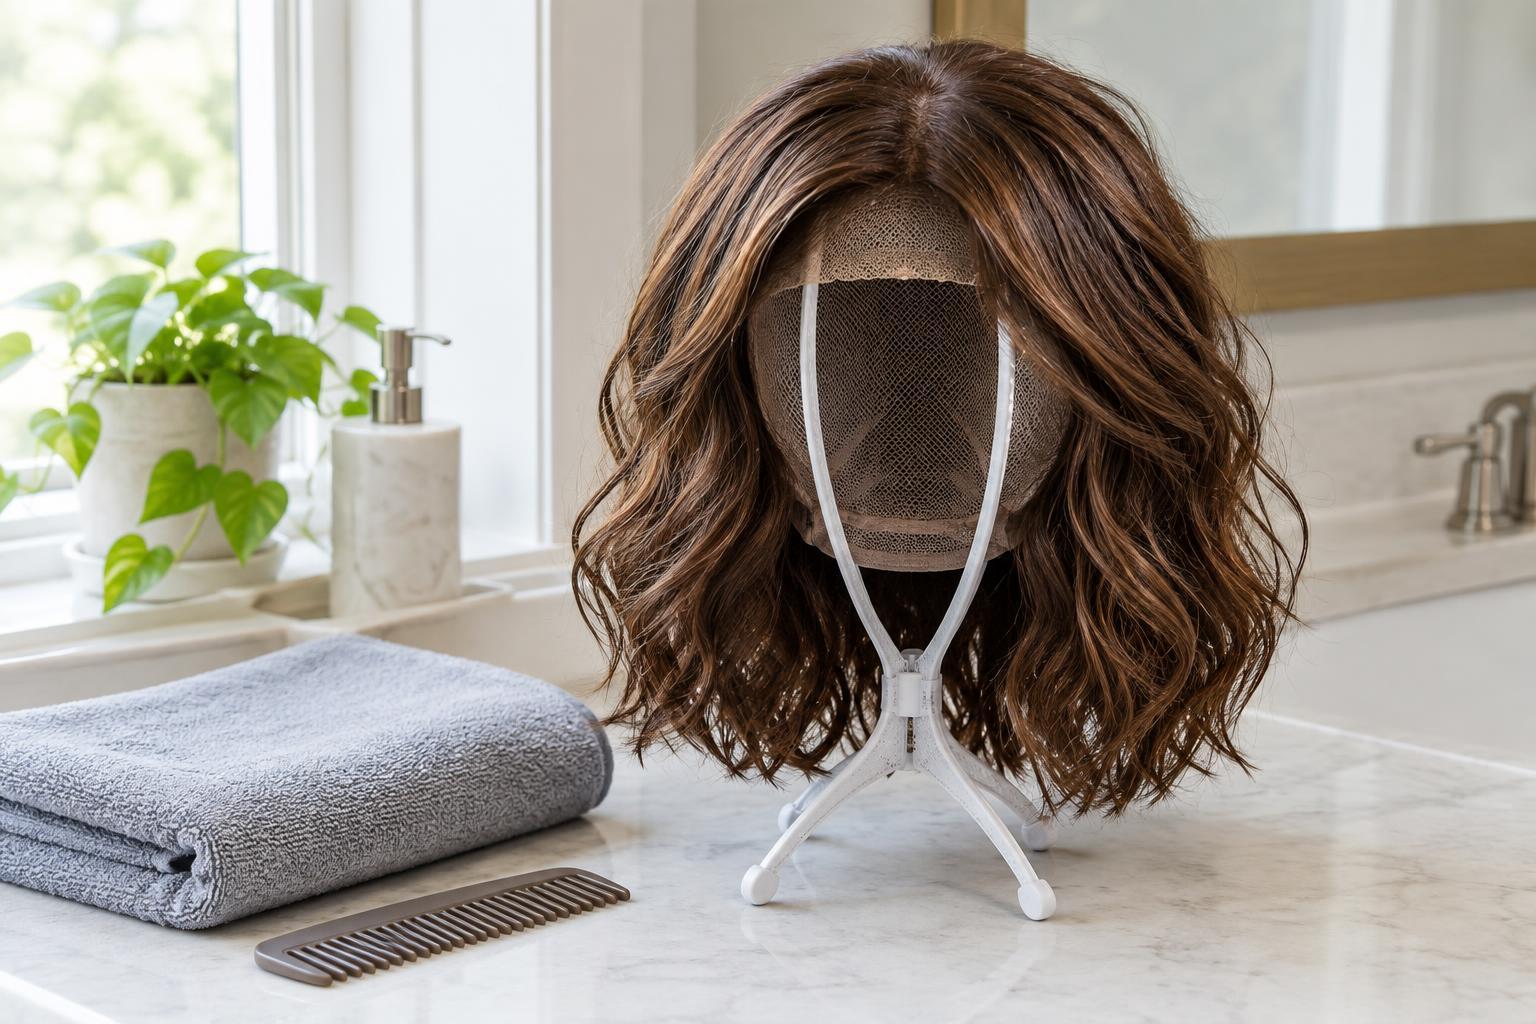
For most wigs, an open, ventilated wig stand is a useful drying support because air can reach the inside of the cap. Place it somewhere stable, away from direct sun, radiators and other concentrated heat. A solid display head may hold a style neatly, but it can slow drying inside the cap, so check that the lining is fully dry before putting the wig away.
The support should hold the wig rather than stretch it. If a stand or head is wider than the cap, use a smaller one or lay the wig on a clean, dry towel over a breathable surface while it begins to dry. Do not pull the cap down firmly to make it fit, and avoid pinning through lace, elastic or other fragile areas. Fasten adjustable straps only as needed to keep them from tangling; they should not bear the wig’s wet weight.
Set the shape before the hair dries
Position the wig as you normally wear it, with the front edge, parting and crown in the right places. Use your fingers to lift hair at the roots and separate sections that have clumped together. If the style has a fringe, guide it into position while damp rather than waiting until it has dried against the cap. Small adjustments now are usually easier than trying to reshape a fully dry wig.
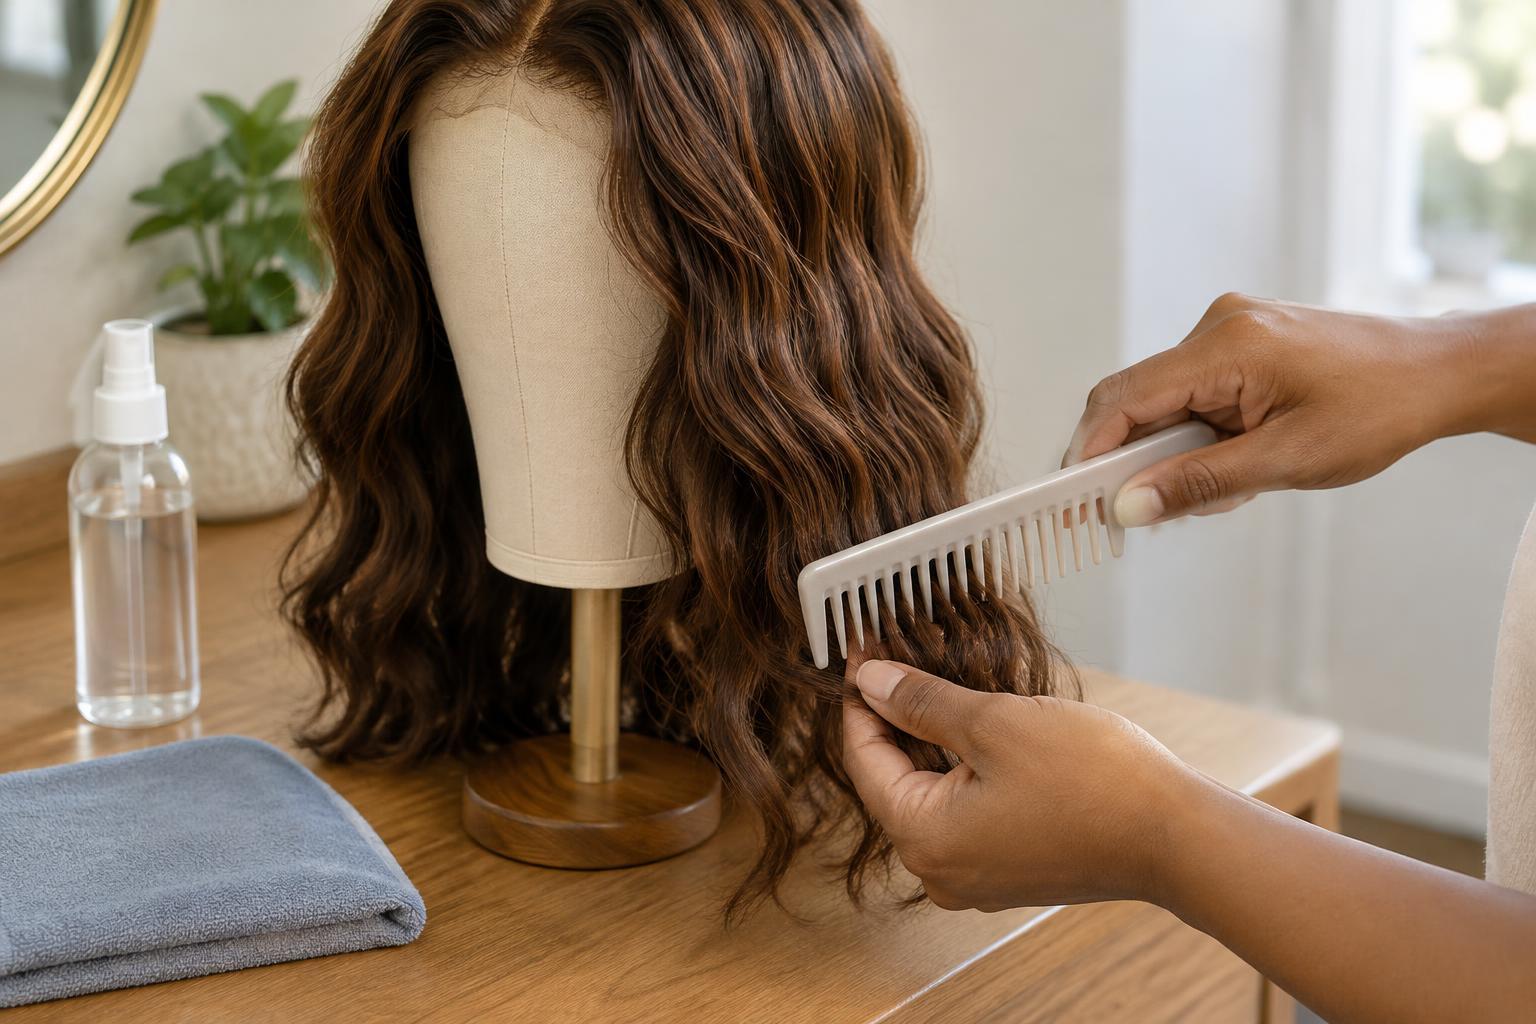
For straight or loosely waved hair, smooth the lengths downward without pulling at the roots. For curls, gently scrunch or arrange individual curl groups instead of brushing them out. Use a wide-tooth comb only if the wig’s care guidance allows it, starting at the ends and working upward while supporting the hair near the cap. Synthetic fibres and human hair can respond differently to products and restyling, so follow the wig maker’s guidance where it is available.
Let air reach the cap as well as the hair
Drying time varies with hair length, density, construction and room conditions. Thick hair and padded cap areas may stay damp after the outer lengths feel dry. Give the wig space rather than placing it in a closed cupboard, bag or box. If it is resting on a towel, move it to a dry section or replace the towel when needed so moisture is not trapped underneath.
Check the nape, crown, seams and any areas where the hair is densely attached. They should feel dry before storage or wear. If the wig has been lying flat, you can move it to a correctly sized ventilated stand once it is lighter, taking care not to tug the cap into place. Avoid leaving a damp wig hanging from a hook, clip or single strap: those narrow contact points can distort its shape.
Finish and store it without undoing your work
Once the wig is completely dry, make any final adjustments with your fingers or a suitable wig brush. A gentle lift at the crown can restore volume that settled during drying. If a style still looks flat, check whether the cap was supported in its natural shape before reaching for heat or extra product. Heat can damage some synthetic fibres, and not every wig is designed for heat styling.
Store the dry wig on an appropriately sized stand if you have room, or arrange it loosely in its storage packaging according to its care instructions. Keep it clean and dry, without compressing the fringe, curls or lace front. The simplest routine is to remove excess water, support the cap without stretching it, set the style while damp and allow enough airflow for every layer to dry.